How do you cool a music studio or recording room without introducing unwanted noise?
You cool a studio by treating temperature control and acoustic control as one design problem. Quiet results usually depend on correct sizing, careful equipment placement, vibration isolation, low-velocity airflow, and proper commissioning, because a unit that seems quiet in a living room can still be obvious in a recording space.
A music studio can feel comfortable one minute and stifling the next. Lights, computers, amplifiers, outboard gear, and people all add heat, and long sessions make that build-up hard to ignore. In a normal room, the answer might be simple. In a recording room, one extra hum, hiss, or rattle can ruin a take.
Sensitive microphones hear what people learn to ignore. A faint fan tone, a low compressor throb, or air rushing through a grille may seem minor during setup, yet those sounds become much more obvious once the room falls quiet and recording starts. That is why studio air conditioning needs a different level of thought from a standard home installation.
Temperature stability matters for practical reasons as well. Instruments can react badly to swings in heat and humidity, and electronic equipment tends to perform better in a stable environment. Session interruptions are expensive in time and concentration, even if no invoice is attached to them.
Many people assume that buying a quiet cooling system solves the whole problem. Studio design guides and acoustic consultants usually take a wider view. Soundproofing, airflow, vibration transmission, room layout, and fresh air strategy all affect the final result, along with the usual concerns around Building Regulations in the UK.
A common misunderstanding appears again and again:
- A low published noise rating does not mean the whole system will be inaudible in use.
- A well-known brand does not remove the need for acoustic design.
- Strong cooling output does not automatically suit a small control room or vocal booth.
Studios ask for noise-free climate control in a very literal sense. The aim is not simply to feel cooler, but to do so without drawing attention away from the work.
The main sources of noise in air conditioning systems
Air conditioning noise comes from more than one place. Even so-called silent AC can create a studio HVAC noise problem if the system has been selected or installed without acoustic care.
One type is mechanical noise. That includes compressor hum, fan motor sound, and any vibration generated by moving parts. In a quiet control room, a low hum can feel like a fridge running in the next room, except that microphones and monitors make it harder to ignore.
Another type is airflow noise. Fast-moving air can hiss through grilles, whistle at bends, or create a soft rushing sound in undersized ductwork. Quiet ventilation depends as much on air speed and duct design as it does on the unit itself.
Structure-borne sound causes trouble too. Vibration can travel through walls, floors, brackets, pipework, or ceiling voids. A unit may sit outside the recording room and still be heard inside because the building itself is carrying the energy.
A simple distinction helps when reviewing noise sources:
| Noise source | What it sounds like | Why it matters in a studio |
|---|---|---|
| Mechanical noise | Hum, buzz, fan tone | Can sit in the background of a recording |
| Airflow noise | Hiss, rush, whistle | Becomes obvious in quiet passages and voice work |
| Vibration transfer | Rattle, low throb | Can travel through the structure into isolated spaces |
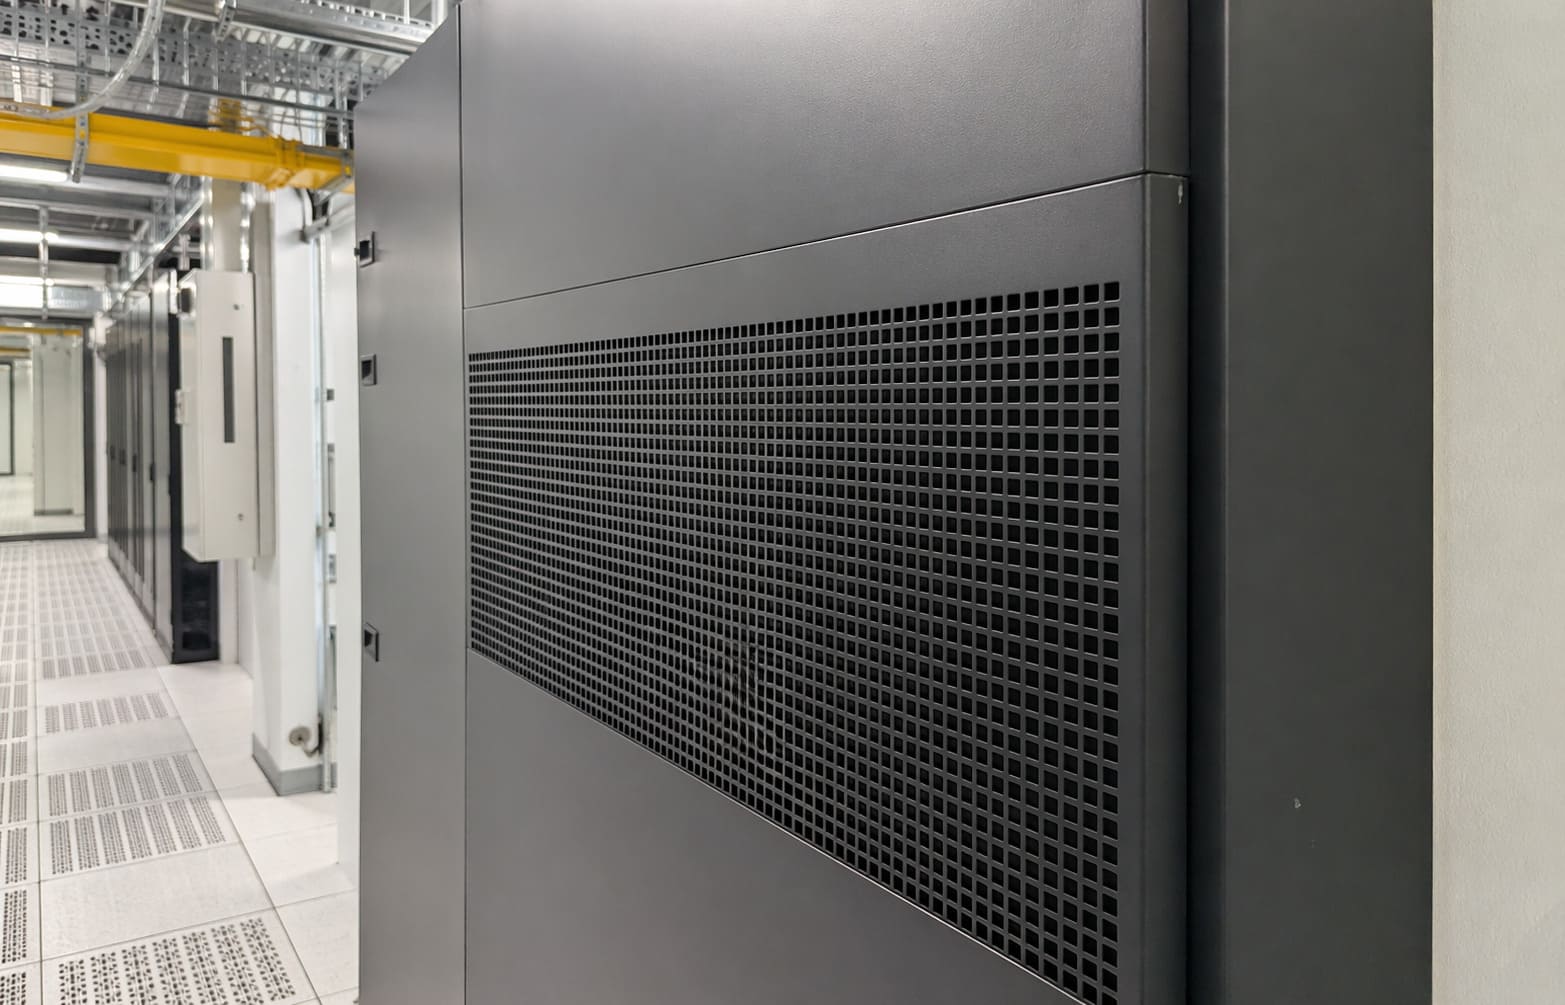
Ducts and grilles deserve special attention. A poorly chosen vent can behave like a small loudspeaker, and long duct runs can create resonance if they are not planned properly. Acoustic engineers often spend as much time reducing these secondary effects as they do choosing the core equipment.
Design strategies for quiet, effective studio cooling
Quiet air conditioning design starts with a basic truth. The best studio cooling solutions are usually planned around the room, the building, and the way the studio is used, not around a single piece of equipment.
Remote condenser placement often makes an immediate difference. Moving noisier outdoor components away from sensitive areas can reduce transmitted sound, although pipe runs, access, and neighbouring properties still need thought. In a dense London setting, older buildings and tight external spaces can limit the obvious options.
Ducted AC for studios can work well where visual discretion and gentle air distribution matter. A split system may suit some rooms, especially if the indoor unit is carefully chosen and positioned. Neither option is automatically superior. The quieter result depends on layout, load, and acoustic priorities.
Several design choices tend to matter most:
- Anti-vibration mounts to reduce structure-borne sound through walls, ceilings, and brackets
- Acoustic baffles or lined sections where duct noise needs to be softened
- Low air velocities so that quiet ventilation stays quiet during long sessions
Zoning can be useful in multi-room setups. A control room, live room, vocal booth, and machine room often behave differently, both acoustically and thermally. Variable speed fans also help, since a system that can modulate gently will usually sound less intrusive than one that keeps cycling hard on and off.
Retrofitting adds another layer. A studio inside a converted townhouse, basement, or mews property may have restricted routes for ducting, limited service voids, and strict expectations around appearance. Firms working in this area, including RightAir Solutions, generally have to balance cooling, access, and acoustic separation within buildings that were never planned as recording spaces in the first place.
Skip the isolation details and the whole system can feel louder than the spec sheet suggested, even if the equipment itself is perfectly respectable.

Free consultation on air conditioning, ventilation and refrigeration, tailored to your property.
Book a Free ConsultationSelecting the right equipment: what matters most
Equipment choice matters, but it only helps when the right details are read in the right way. Studio air conditioning equipment should be judged as part of a whole system, including how and where it will operate.
When reviewing quiet AC units, focus on these points:
- Noise ratings Look at indoor and outdoor sound data, then consider the context. A published decibel figure can be helpful, yet it may be measured under conditions that do not match a real studio.
- Inverter operation Inverter-driven systems can adjust output more smoothly, which often reduces abrupt fan changes and heavy cycling. That steadier behaviour is often preferable in recording rooms.
- Correct sizing Oversized units can cool quickly but run awkwardly, and undersized units may work too hard. Thermal load should account for occupants, lighting, computers, racks, glazing, and room use.
- Air distribution A low-noise air conditioning setup needs gentle, sensible airflow. Even a good unit can become distracting if it blows directly at a mic position or mix desk.
- Footprint and appearance Wall space, ceiling height, cable routes, and maintenance access all shape what is practical. Visual integration matters in studios where the room itself is part of the working environment.
A low number on a specification sheet is useful, although it is only one clue. A 19 dB rating may sound impressive, but the reader still needs to know fan speed, measurement conditions, and what the rest of the system is doing around it.
Professional advice earns its place here because selection is rarely about one feature. The best match is usually the one that balances acoustic discretion, heat load, layout, and future servicing without forcing compromises elsewhere.
Carefully test your air conditioning system at the lowest and highest operational settings before finalising installation to catch any unexpected noise issues early.

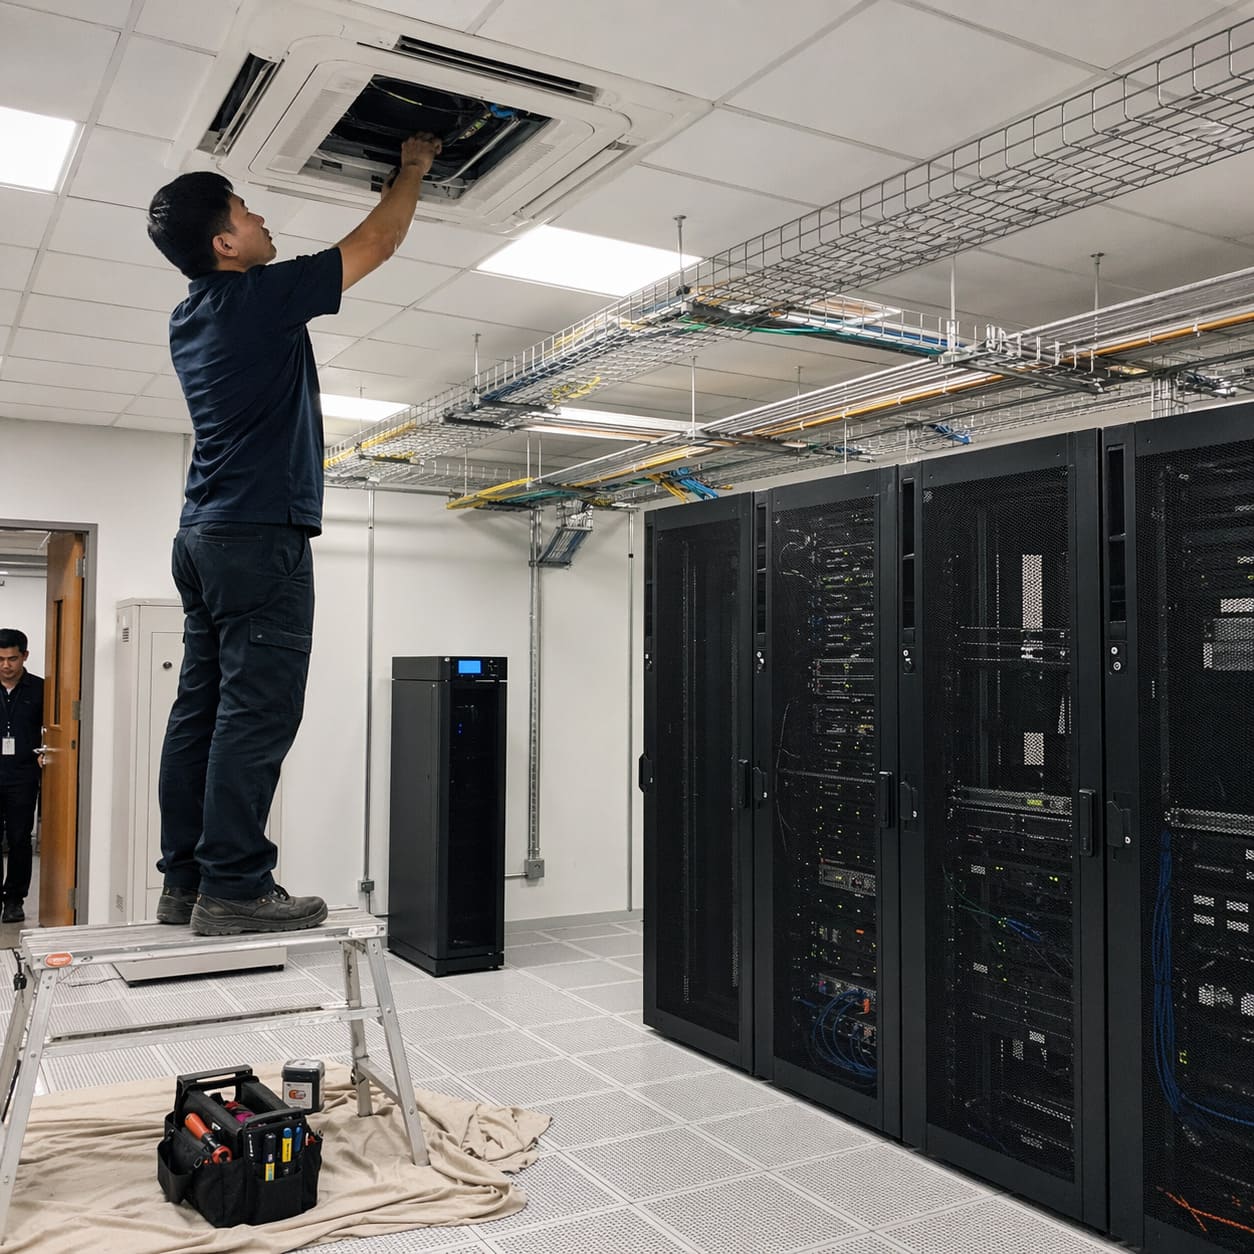
Installation considerations: minimising disruption and maximising results
Studio AC installation can be straightforward, but the details matter more than many clients expect. Sensitive rooms do not respond well to rushed drilling, loose cable routing, or dust drifting across equipment.
Timing is often the first practical issue. Installations usually work better when planned around recording schedules, editing periods, or downtime between bookings. A room used every day has different constraints from a private studio used mainly in the evenings.
Older London properties can complicate access. Tight staircases, listed features, shared outdoor areas, and limited service routes all influence how equipment arrives and where it can go. Clean workmanship becomes part of the technical result because poor routing choices can affect both acoustics and appearance.
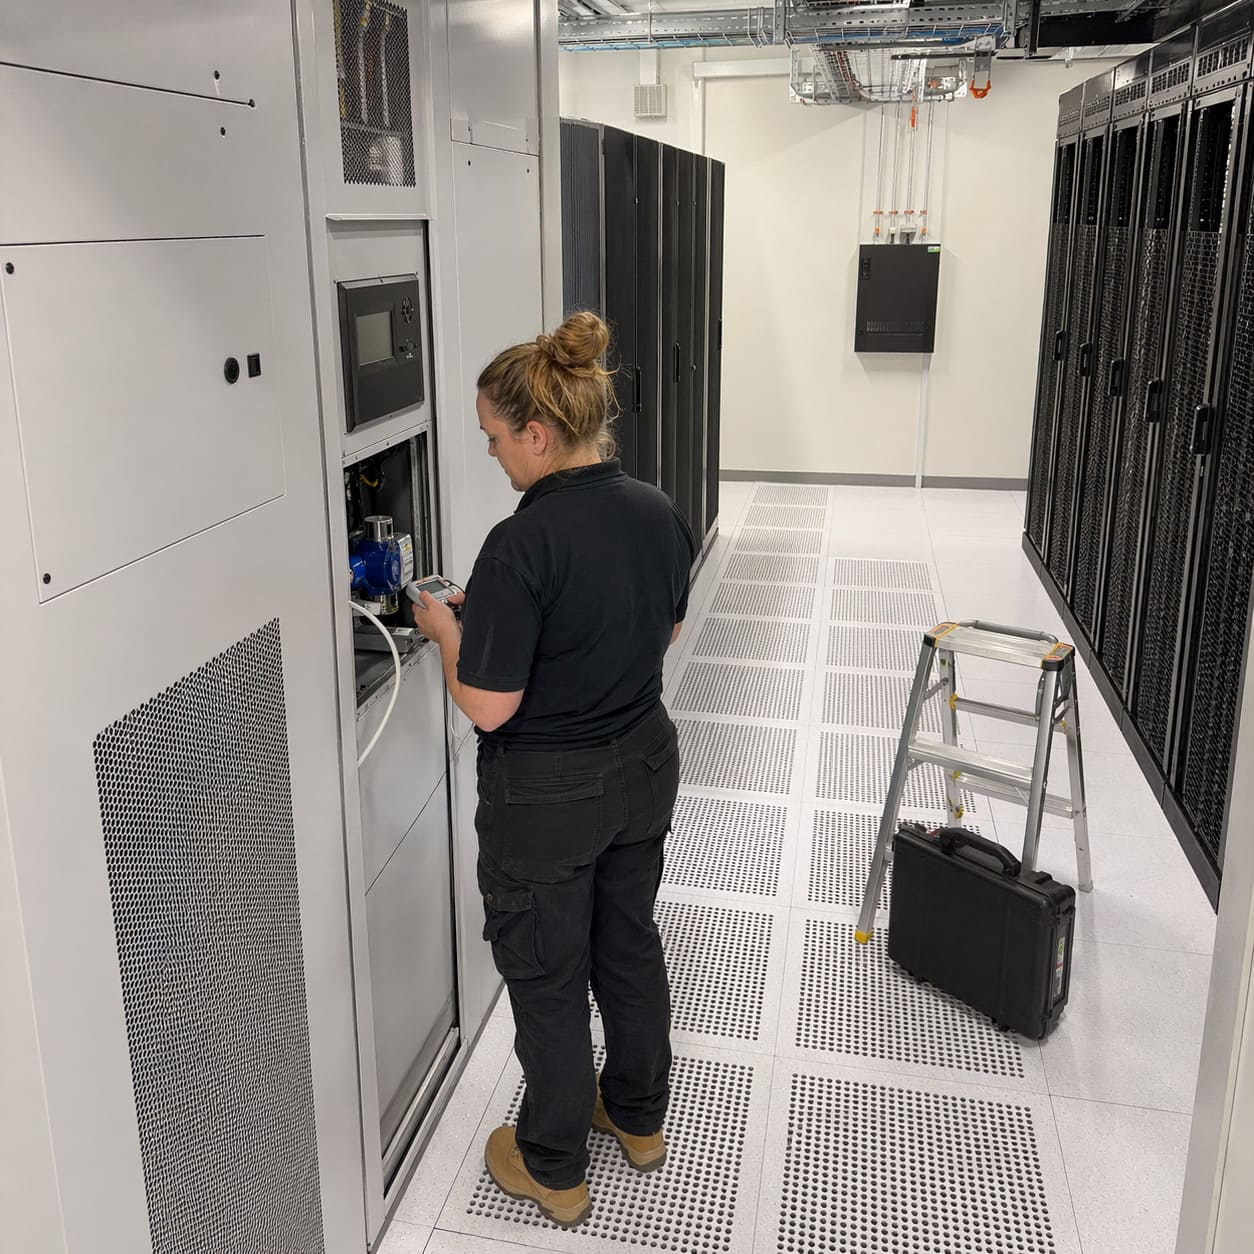
Commissioning deserves proper attention. Once the system is fitted, airflow should be balanced, controls checked, and noise assessed in the context of the room. RightAir Solutions and similar specialist installers generally treat this stage as more than a simple switch-on, because a unit can function perfectly in mechanical terms and still need fine tuning for acoustic comfort.
A few installation habits are especially worthwhile:
- Protect instruments, desks, and soft furnishings from dust before any cutting starts.
- Plan pipework, condensate runs, and cable routes so they stay discreet and serviceable.
- Test the system at realistic operating levels, including the fan settings most likely to be used during sessions.
Maintenance also affects noise over time. Dirty filters, loose panels, blocked drains, and neglected fans can all make a once-quiet system more noticeable. In a studio, that change tends to show up first in the pauses between sounds.
Place microphone test recordings throughout the room before and after equipment installation to objectively compare background noise levels.

Beyond cooling: managing humidity and air quality in studios
Cooling is only part of studio climate management. Humidity and air quality influence comfort, equipment condition, and the way a room feels during a long session.
A humid summer day can make a recording space uncomfortable even before the temperature looks excessive. Relative humidity also matters for certain instruments, timber finishes, and stored materials. Electronics do not enjoy damp conditions either, particularly in rooms with limited natural ventilation.
Fresh air presents its own challenge. Recording room ventilation must support people who may be working for hours, but any path that lets stale air out can also let noise in, or vice versa. That balance often needs careful planning, especially in sealed or heavily soundproofed rooms.
Filtered ventilation and humidity control can support a steadier environment in several ways:
- Dehumidification can reduce that heavy, clammy feel in enclosed spaces.
- Good filtration can help limit dust build-up around sensitive equipment.
- Monitoring with simple sensors can show whether conditions stay stable through the day.
Air quality often becomes most noticeable during extended sessions. A room with poor air exchange can feel tired and stuffy, even if the temperature is technically acceptable. By contrast, a well-managed space tends to support concentration, comfort, and more consistent use of the room.
Common pitfalls and how to avoid them
Most studio AC mistakes are understandable. People often focus on cooling first, then realise later that the noise, layout, or maintenance side was not thought through enough.
One frequent error is underestimating noise transmission. A unit may seem quiet in a showroom or office, yet the same sound becomes obvious once it sits beside sensitive microphones and isolated walls. Planning for vibration isolation and low-velocity airflow from the start is far easier than trying to cure a noisy system after installation.
Another issue is poor access for servicing. Hidden pipework and neat finishes may look tidy on day one, but filters, drains, and key components still need to be reached. If routine maintenance becomes awkward, it is more likely to be delayed, which often leads to reduced performance and more audible operation.
Price-led decisions can also create problems. The lowest upfront option may leave little room for acoustic treatment, careful routing, or proper commissioning. Future needs matter as well. A room that currently mixes vocals may later house more equipment, longer sessions, or a different layout.
Acoustic advice is sometimes treated as optional, although that can be a false economy in a highly sensitive space. Even a short review from an acoustic consultant can highlight weak points such as vent placement, grille noise, or structural vibration paths that might otherwise be missed. Catching those points on paper is much easier than hearing them for the first time during a take.
Clear pricing, realistic timelines and honest advice from an experienced London installer.
Request a QuoteRethinking “silence”: what quiet really means in a studio context
Silence in a studio is a little like darkness in a cinema. Absolute absence is rarely the real target. The practical aim is a background condition that does not intrude on the work.
That difference matters. Some rooms need an exceptionally low noise floor for voice recording or delicate acoustic instruments. Other spaces can tolerate a small amount of background sound if it remains stable and unobtrusive. Acceptable AC noise depends on the type of studio, the microphones in use, and the expectations of the people working there.
Subjective perception plays a part too. A faint, even sound can be easier to live with than an intermittent click, rattle, or fan surge. Acoustic calibration and system tuning help because they focus attention on what people will actually hear in use, instead of relying only on headline product data.
Ongoing monitoring has value here. Filters age, rooms change, equipment gets added, and seasonal conditions shift. A system that felt comfortably quiet in spring may need a small adjustment by midsummer, particularly if occupancy rises or workflows change.
Quiet studio standards are therefore less about chasing a fantasy of total silence and more about achieving control. When cooling, ventilation, and acoustics are planned together, the room can stay comfortable without competing with the music being made inside it.
