What should you check before summer puts your air conditioning under pressure?
Start with the basics you can see, hear, and safely test yourself. A sensible pre-season air conditioning check covers power, controls, filters, airflow, drains, outdoor unit condition, unusual noises, and whether the system cools rooms evenly. Those simple checks can reveal small issues before a heatwave turns them into a very uncomfortable day indoors.
Why pre-season air conditioning checks matter more than ever
A hot spell feels very different when a home or office has been shut up through spring and the cooling has not been tested. The first proper summer weekend is a poor time to find out that the remote has dead batteries, the filter is clogged with dust, or the system runs without actually cooling the room.
Preparing an air conditioning system before heavy use is a bit like checking a car before a long motorway trip. Most of the time, the aim is not dramatic repair work. The aim is to catch the obvious things early, while they are still easy to put right.
London properties add their own complications. Older conversions, compact flats, garden offices, and mixed-use buildings can all behave differently in warm weather. Heat can build up quickly in upper floors, rear extensions, glazed rooms, and spaces with limited cross-ventilation, which means that reliable cooling becomes a matter of daily comfort rather than occasional convenience.
A few points are worth keeping in mind:
- Heatwaves put extra strain on systems that have been idle for months.
- Dirty filters and blocked airflow can reduce comfort even if the unit still switches on.
- A system that coped last summer may struggle if the room layout, occupancy, or shading has changed.
Guidance from organisations such as the Met Office and CIBSE has kept public attention on overheating and indoor comfort, especially in built-up areas. For many London households, summer air conditioning prep is now simple practical housekeeping.
Power and controls: ensuring your system starts up smoothly
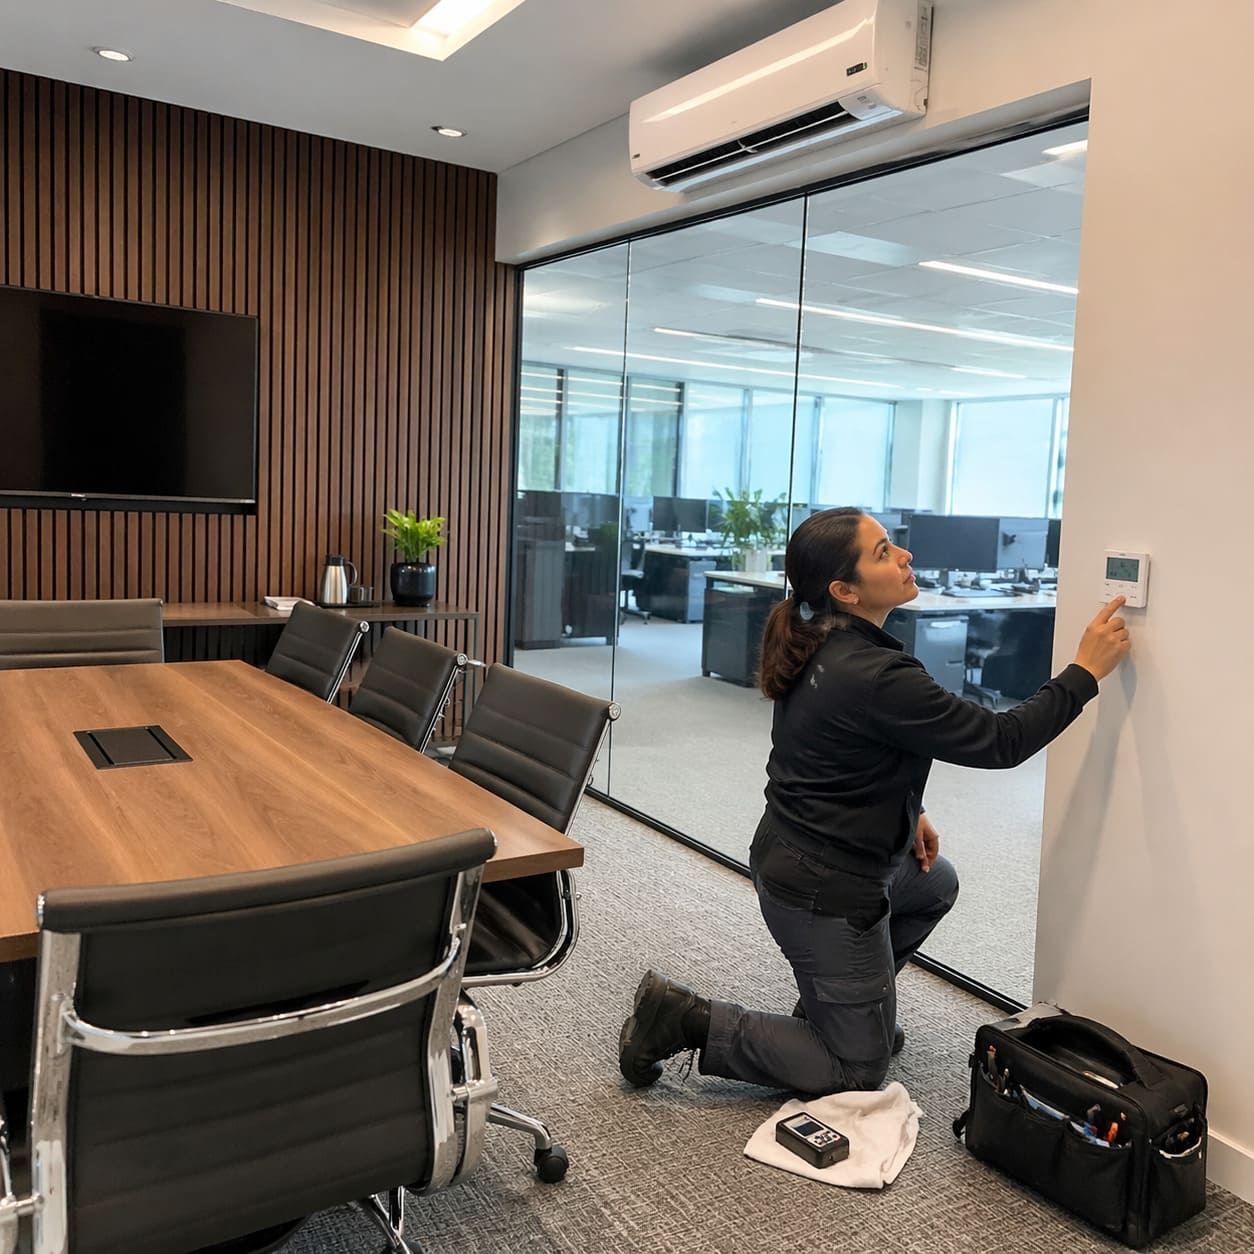
Begin with a safe start-up check. Set the system to cooling mode, choose a low target temperature, and see whether the unit responds properly from the wall controller, thermostat, or remote.
A unit that lights up is not necessarily a unit that is ready. Controls can lose settings after a long dormant period, remotes can fail quietly, and some systems display fault lights or error codes before any cooling begins.
Use this order:
- Confirm that the main power supply to the system is on.
- Check any local isolator switch is in the correct position.
- Replace remote batteries if the screen is faint or unresponsive.
- Set the controller to cooling mode and lower the target temperature.
- Wait a few minutes to see whether the indoor and outdoor units both begin normal operation.
If the display is blank, if the unit trips the power again after starting, or if a controller shows an unfamiliar fault code, stop there. Electrical work should be left alone unless you are qualified. BS 7671 and normal electrical safety guidance exist for good reason, especially where fixed wiring and outdoor equipment are involved.
Smart controls deserve a quick check too. Phone apps may have logged out, schedules may still be set for winter habits, and wireless connections can drop without much warning. A five-minute thermostat test now is better than trying to troubleshoot it on the hottest evening of July.
Free consultation on air conditioning, ventilation and refrigeration, tailored to your property.
Book a Free ConsultationFilters and airflow: the foundation of clean, efficient cooling
If one task makes a visible difference, it is filter cleaning. Dust, pet hair, lint, and city grime build up gradually, so many people do not notice the change until airflow starts feeling weak and the room stays warmer than expected.
Most wall-mounted indoor units have accessible filters behind the front cover. Some are washable mesh filters, while others are replaceable, depending on the manufacturer specification. The manual remains the safest guide for removal and cleaning.
A simple routine usually looks like this:
- Switch the system off before opening the cover.
- Remove the filters carefully and check for grey dust, fluff, or greasy residue.
- Clean washable filters exactly as the manufacturer advises, or replace disposable ones with the correct type.
- Let filters dry fully before refitting them.
- Look at nearby grilles and vents to make sure furniture, curtains, or stored items are not blocking air movement.
The difference can be surprisingly obvious. Before cleaning, the unit may sound as though it is working hard while the room still feels stuffy. After cleaning, airflow often feels cleaner and steadier, with less strain on the fan.
Blocked vents can also affect noise. Air forced through restricted openings may whistle, flutter blinds, or create uneven cooling across the room. That issue often has a simple cause, such as a wardrobe pushed too close to a return grille or boxes stacked in front of a vent.
A well-maintained filter improves both air quality and system efficiency, especially in city environments

Condensate drains and water leaks: preventing mess and damage
A small water issue can stay unnoticed for far too long, especially if the unit sits above a doorway, in a loft room, or in a little-used office. By the time a patch appears on paint or plaster, the problem may have been building for a while.
Air conditioning naturally produces condensation during cooling. That moisture should drain away cleanly. Trouble starts when the drain line is blocked, the tray is overflowing, or water begins collecting where it should not.
Look out for these signs:
- Drips or pooling water beneath an indoor unit
- Damp marks on nearby walls or ceilings
- A musty smell close to the unit
- The system stopping unexpectedly after running for a while
Older London buildings can be less forgiving here. Uneven walls, hidden pipe runs, and previous alterations sometimes make leaks harder to spot early. A unit installed in an alcove or above fitted joinery can also conceal the first signs.
Do not poke into drain lines or dismantle panels in search of the blockage. A visual check is enough for a homeowner. If water is recurring, if staining is spreading, or if the unit shuts down alongside the leak, professional attention is the sensible next move.

Outdoor units: clearing obstructions and checking condition
Take a look at the outdoor unit before sustained summer use. Even a sound system can struggle if the condenser is hemmed in by leaves, windblown debris, climbing plants, or general clutter.
Access should stay safe and straightforward. If the unit sits on a roof, above a lower extension, or in any awkward position, keep the inspection to whatever you can see securely from ground level or a normal access point.
Check for obvious issues such as trapped rubbish around the casing, flattened fins, signs of impact, or dense plant growth restricting airflow. A gentle clear-up around the base is usually fine, but avoid pressure washers, sharp tools, and anything that could bend delicate surfaces.
Outdoor units in London are easy to overlook because they are often tucked into side returns, patios, balconies, or screened service areas. Once cleaned and given some breathing space, many run more quietly simply because air can move as intended.
Testing your system early in the season allows time for repairs before peak demand and long wait times

Listening for unusual noises: early warning signs you should not ignore
What does your AC sound like when it starts after a long break? That question matters because a familiar hum is one thing, but a new rattle or buzz deserves attention.
Some operating noise is completely normal. Fans move air, compressors start and stop, and casings can click slightly as temperatures change. Trouble usually announces itself through change, especially if the sound is louder, sharper, or more persistent than you remember.
Normal sounds may include a soft fan noise, a gentle change in pitch as the system settles, or a brief start-up click. Less reassuring noises include metallic rattling, repeated buzzing, whistling from restricted airflow, or vibration that seems to travel into walls or joinery.
Try standing in the room for a few minutes after switch-on, then step outside if the outdoor unit is easy to hear. Make a note of when the sound appears. Some noises happen only at start-up, while others build as the system warms into operation.
A loose panel may cause a light rattle. Airflow restriction may create a hiss or whistle. Strong vibration or repeated fault beeps point to something that should not be ignored. Monitoring a faint one-off sound is reasonable, but persistent noise that grows worse over several uses deserves inspection.
System performance: testing for consistent cooling and air quality
Run the system for ten to fifteen minutes and pay attention to the room, not just the display. A successful cooling test should leave the space feeling measurably fresher, with steady airflow and no obvious hot spots close to the unit.
Use ordinary observation here. You do not need specialist tools to notice whether one bedroom cools well while the landing stays warm, or whether an office feels muggy despite the system working hard. A simple room thermometer can help if you want a reference point, but comfort is still the main clue.
Watch for three things. First, does cool air begin to arrive within a reasonable time? Second, does that air continue evenly, rather than fading after a few minutes? Third, does the room smell clean, or does it carry a stale, dusty, or damp note when the unit runs?
Uneven cooling can point to airflow problems, dirty filters, or a system that needs further assessment. Persistent odours can signal dirt within the unit, standing moisture, or long gaps between cleans. If the room feels cooler, the air moves well, and nothing smells off, your pre-season check has done its job.
Clear pricing, realistic timelines and honest advice from an experienced London installer.
Request a QuoteWhen to call in a professional: recognising the limits of DIY checks
Good DIY checks are useful because they deal with the visible, safe, everyday parts of system care. Good judgement matters just as much, particularly with more complex installations, ducted systems, ceiling cassettes, multi-split layouts, or equipment serving high-value interiors.
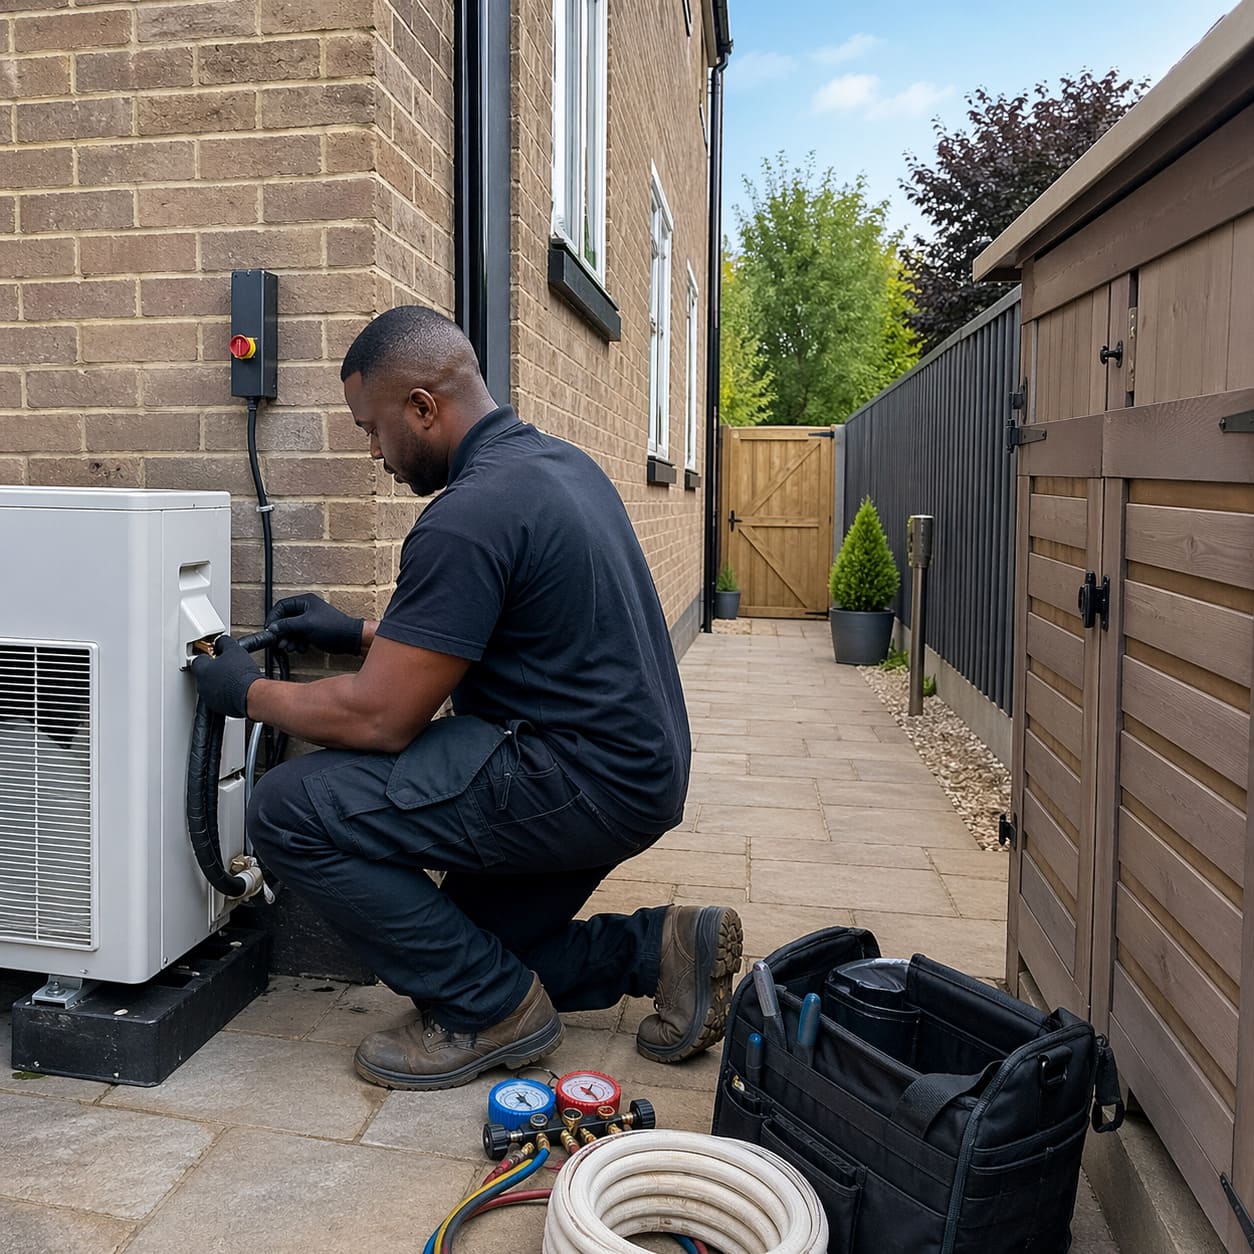
Some tasks belong firmly on the professional side. Refrigerant handling is controlled under F-Gas rules. Electrical diagnosis, sealed components, drainage faults inside concealed runs, and internal cleaning beyond normal access should also be left to trained engineers.
A helpful dividing line looks like this:
- DIY checks: controller response, filter condition, visible obstructions, obvious leaks, general noise, and basic cooling performance
- Professional work: refrigerant issues, internal faults, electrical problems, recurring drainage trouble, deep cleaning of inaccessible parts, and servicing tied to warranty requirements
In properties where quiet operation, discreet pipe routes, and neat integration matter, professional maintenance is part of looking after the system properly over time. Firms such as RightAir Solutions are often brought in for that lifecycle approach, especially in London homes where access, finish, and occupant comfort all matter at once.
Knowing where to stop is a strength, not a shortcoming. A careful pre-season inspection gives you a clearer picture of what is ready, what needs watching, and what calls for expert attention before the hottest part of summer arrives.
